


Multi-Channel Setup: Connect Telegram, WhatsApp, Instagram & More
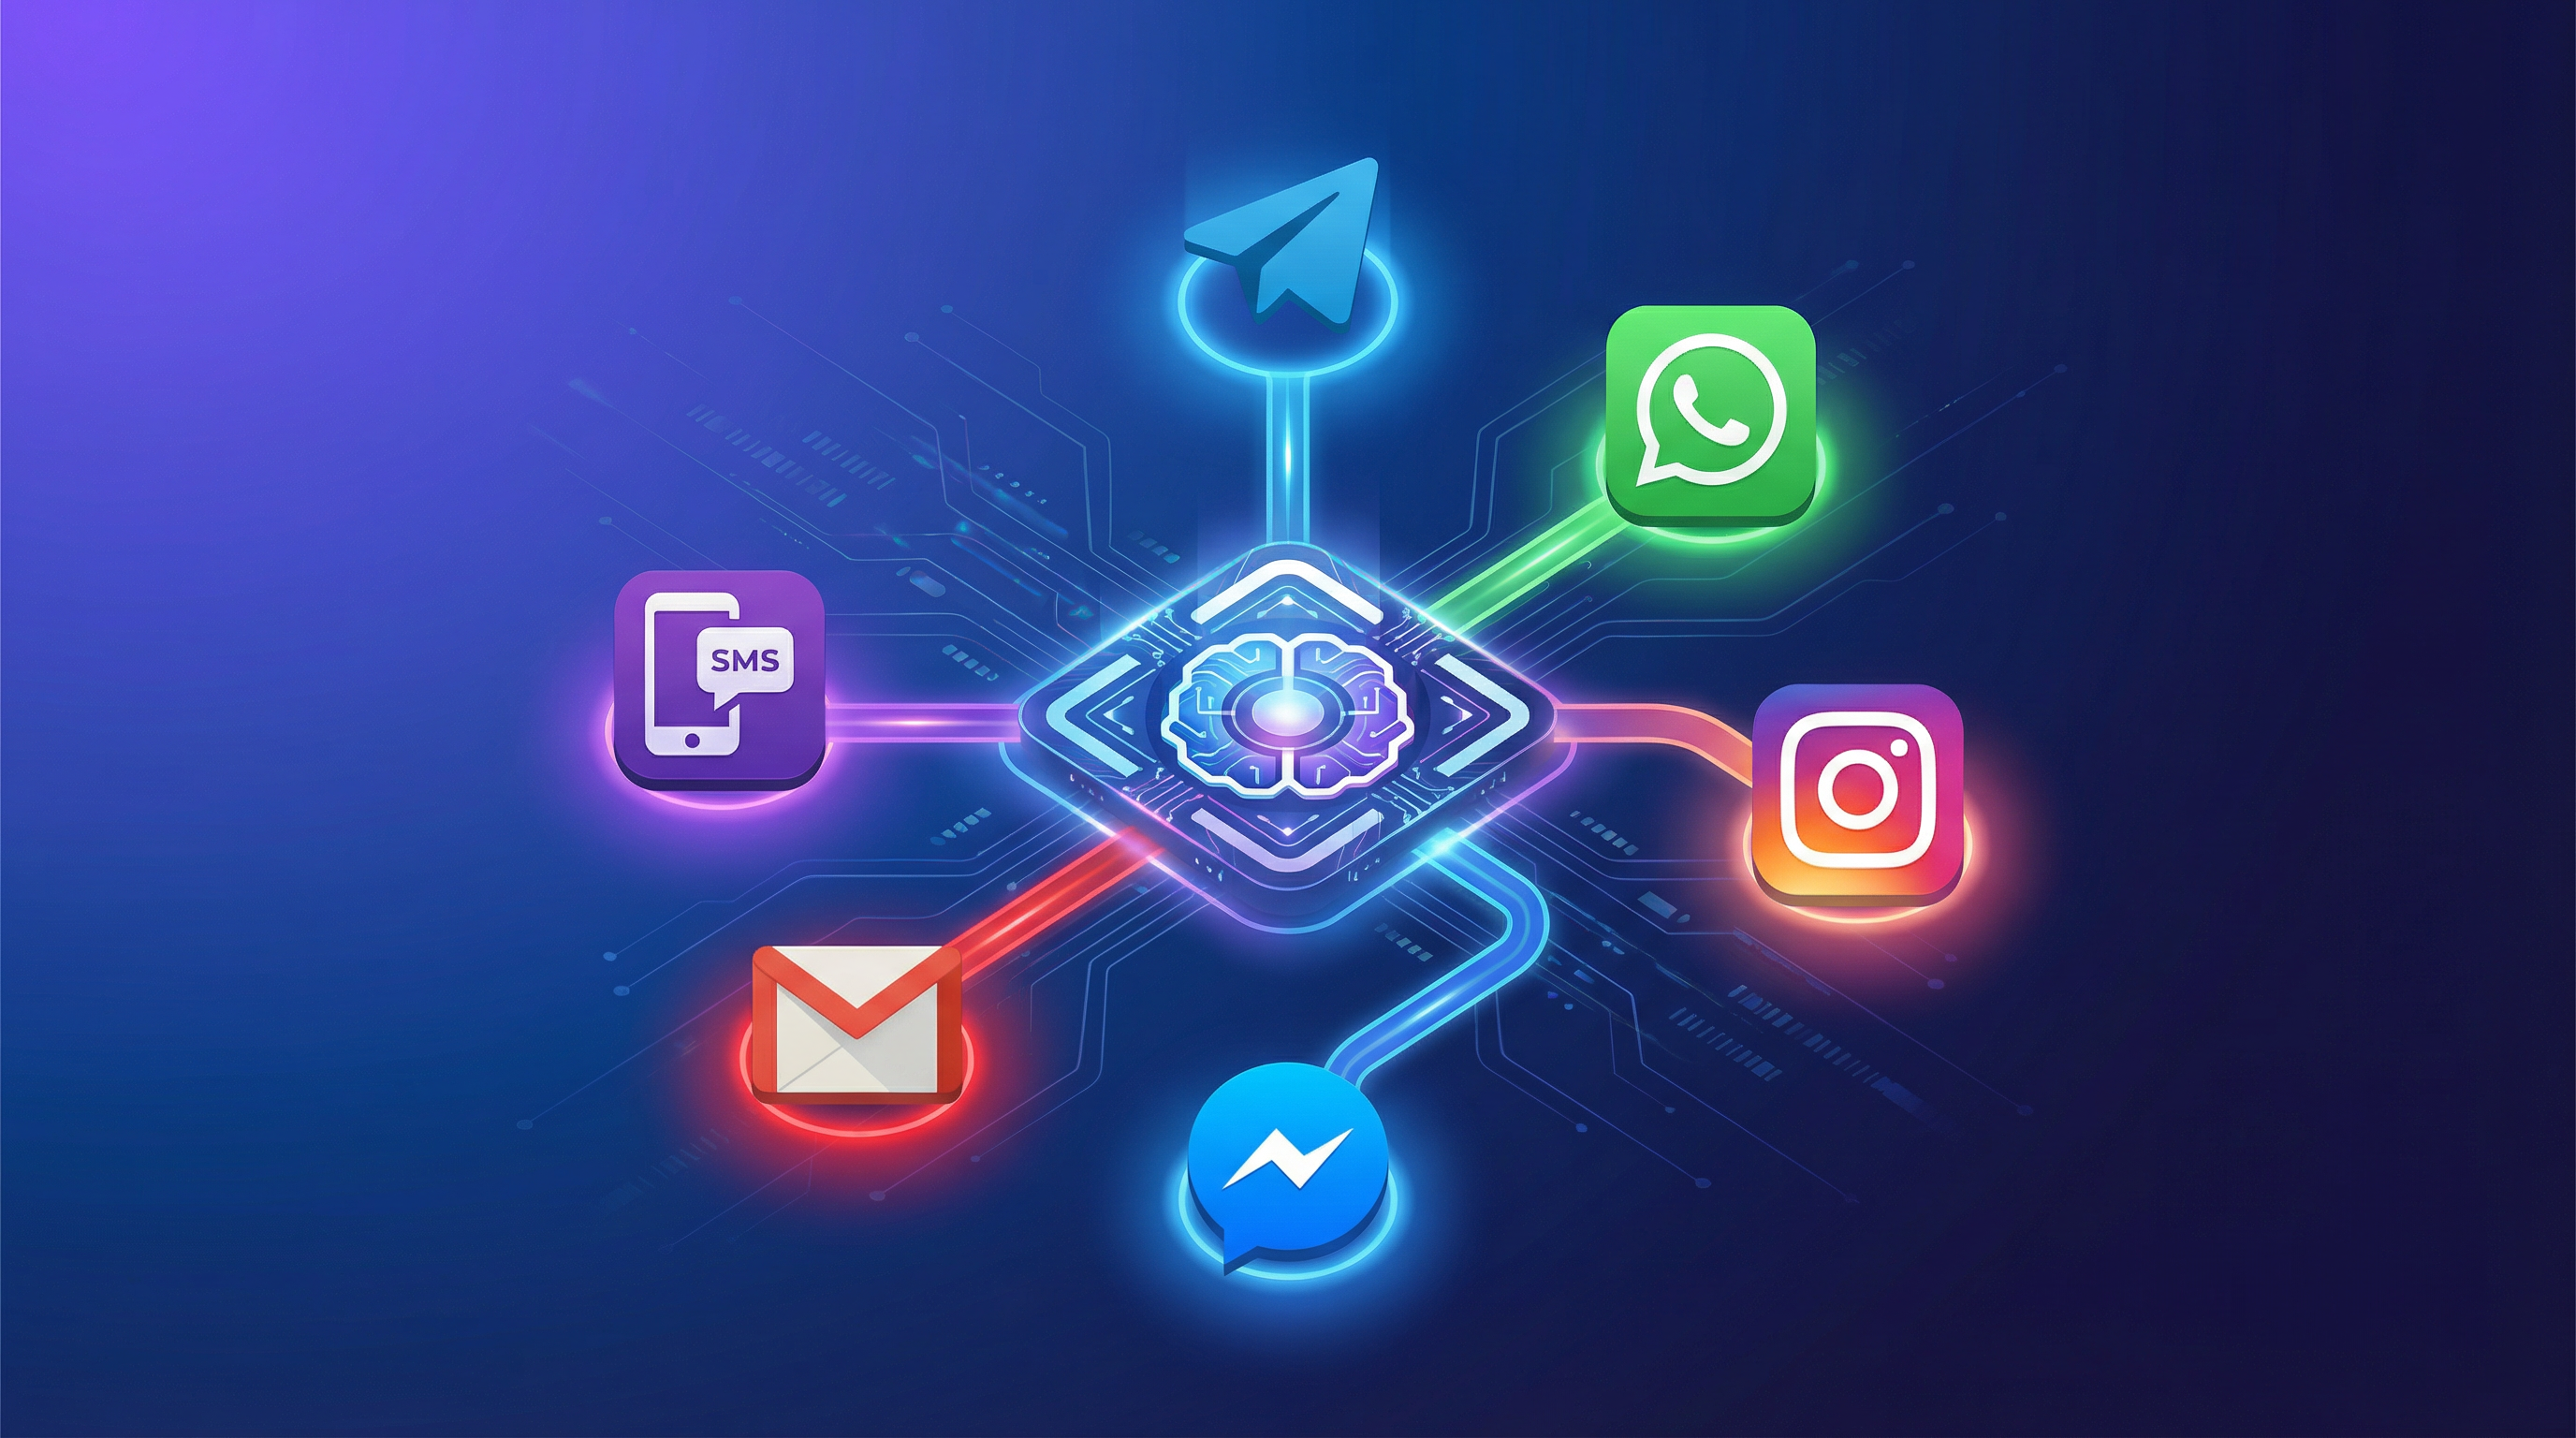
One Bot, Every Channel
Your customers don't live on just one platform. Some prefer WhatsApp, others use Telegram, and many will DM you on Instagram. The beauty of Mugib is that you train your AI once — then deploy it across every channel with the same knowledge base, the same personality, and the same quality.
In this guide, we will walk through how to connect each supported channel from the Channels page inside your project dashboard.
How Channels Work in Mugib
Every channel in Mugib follows the same lifecycle:
Create — Choose a channel type and enter the required credentials.
Start — Activate the connection. The channel goes "Live" and begins receiving messages.
Test — Send a test message to verify the connection is healthy.
Monitor — View message counts and status (Connected, Disconnected, Error) from the dashboard.
Stop — Pause the channel temporarily without deleting it.
All channels share common optional settings: a Welcome Message (sent when a user starts a new conversation) and an Error Message (fallback when the AI fails to respond).
Channel 1: Telegram
Telegram is the easiest channel to set up — you only need one thing: a Bot Token.
How to Get Your Bot Token
Open Telegram and search for @BotFather.
Send /newbot to create a new bot.
Choose a name (display name) and a username (must end in "bot", e.g. AcmeSupportBot).
BotFather will reply with your Bot Token — a string like 123456789:ABCdefGhIjKlMnOpQrStUvWxYz.
Copy this token.
Connect in Mugib
Go to your project's Channels page and click Add Channel.
Select Telegram from the channel type grid.
Enter a Channel Name (e.g. "Telegram Support").
Paste your Bot Token from BotFather.
Optionally set a Welcome Message and Error Message.
Click Create.
After creating, click the Start button (green play icon) on the channel card. Your bot is now live on Telegram. Send it a message to test!
Tip: You can also click the Test Connection (lightning bolt icon) button to verify the token is valid before starting.
Channel 2: WhatsApp Business API
WhatsApp requires a Meta Business account and access to the WhatsApp Business Platform (formerly Cloud API). This is the official API — not WhatsApp Web hacks.
Prerequisites
A Meta Business Account at business.facebook.com.
A registered WhatsApp Business App in Meta's developer portal.
A verified phone number connected to WhatsApp.
What You Need
Phone Number ID — Found in your Meta Business dashboard under WhatsApp > Getting Started.
Access Token — A permanent access token (not the temporary test token). Generate this from the Meta for Developers portal under System Users.
Verify Token — A custom string you create (e.g. mugib_verify_2026). This is used to verify the webhook connection between Meta and Mugib.
Connect in Mugib
Click Add Channel and select WhatsApp.
Enter a Channel Name (e.g. "WhatsApp Support").
Paste your Phone Number ID, Access Token, and Verify Token.
Set your Welcome and Error messages.
Click Create, then Start.
Set Up the Webhook in Meta
After starting the channel in Mugib, you need to configure the webhook in Meta's developer portal:
Go to your WhatsApp app in Meta for Developers.
Navigate to Configuration > Webhook.
Set the Callback URL to Mugib's webhook endpoint (shown in the channel settings).
Set the Verify Token to the exact same string you entered in Mugib.
Subscribe to the messages field.
Note: WhatsApp has a 24-hour messaging window. Customers must message you first before your bot can reply. After 24 hours of inactivity, you need a pre-approved template message to re-engage.
Channel 3: Instagram DM
Connect your Instagram business account to auto-respond to Direct Messages.
Prerequisites
An Instagram Business or Creator account.
The Instagram account must be connected to a Facebook Page.
A Meta App with Instagram Messaging API enabled.
What You Need
Page ID — The Facebook Page linked to your Instagram account. Find it in Facebook Page Settings > About.
Page Access Token — A long-lived token generated from your Meta App's system user. This must have the instagram_manage_messages permission.
Verify Token — A custom string for webhook verification (e.g. mugib_insta_verify).
Connect in Mugib
Click Add Channel and select Instagram.
Enter a Channel Name (e.g. "Instagram DM").
Fill in your Page ID, Page Access Token, and Verify Token.
Click Create, then Start.
Configure the webhook in Meta's developer portal (same process as WhatsApp — subscribe to the messages field for Instagram).
Channel 4: Facebook Messenger
Messenger uses the same Meta infrastructure as Instagram, so the setup is very similar.
What You Need
Page ID — Your Facebook Page ID from Page Settings.
Page Access Token — A long-lived token with pages_messaging permission.
Verify Token — Custom string for webhook verification.
Connect in Mugib
Click Add Channel and select Messenger.
Enter a Channel Name (e.g. "FB Messenger").
Fill in your Page ID, Page Access Token, and Verify Token.
Click Create, then Start.
In Meta for Developers, subscribe the webhook to the messages and messaging_postbacks fields.
Tip: Instagram and Messenger share the same credential format. If you have both connected to the same Facebook Page, you can use the same Page Access Token for both — just create two separate channels in Mugib.
Channel 5: Email (IMAP + SMTP)
The Email channel lets your bot auto-respond to incoming emails. It uses IMAP to read incoming messages and SMTP to send replies.
What You Need
IMAP Host & Port — For Gmail: imap.gmail.com, port 993. For Outlook: outlook.office365.com, port 993.
SMTP Host & Port — For Gmail: smtp.gmail.com, port 587. For Outlook: smtp.office365.com, port 587.
Email Address — The email account the bot will monitor and reply from (e.g. support@yourcompany.com).
Email Password — For Gmail, you must use an App Password (not your regular password). Go to Google Account > Security > App Passwords to generate one.
Connect in Mugib
Click Add Channel and select Email.
Enter a Channel Name (e.g. "Support Email").
Fill in your IMAP Host and Port (for receiving).
Fill in your SMTP Host and Port (for sending).
Enter your Email Address and Password (or App Password).
Click Create, then Start.
Gmail-Specific Setup
If you are using Gmail:
Enable IMAP access in Gmail Settings > See all settings > Forwarding and POP/IMAP > Enable IMAP.
If you have 2-Step Verification enabled, create an App Password at myaccount.google.com/apppasswords.
Use the App Password instead of your regular Gmail password.
Channel 6: SMS (Twilio)
The SMS channel uses Twilio (or compatible providers) to send and receive text messages.
Prerequisites
A Twilio account at twilio.com.
A Twilio phone number capable of sending/receiving SMS.
What You Need
SMS Provider — Enter twilio.
Account SID — Found on your Twilio Console dashboard (starts with AC).
Auth Token — Also on the Twilio Console dashboard.
From Number — Your Twilio phone number in international format (e.g. +14155552671).
Connect in Mugib
Click Add Channel and select SMS.
Enter a Channel Name (e.g. "SMS Support").
Enter your SMS Provider (twilio), Account SID, Auth Token, and From Number.
Click Create, then Start.
Configure the Twilio Webhook
In your Twilio Console:
Go to Phone Numbers > Manage > Active Numbers.
Click your number and scroll to Messaging Configuration.
Under "A message comes in", set the webhook URL to Mugib's SMS webhook endpoint.
Set the method to HTTP POST.
Managing Your Channels
Once connected, each channel appears as a card on the Channels page with:
A colored status indicator — green for Connected, gray for Disconnected, red for Error.
A "Live" badge when the channel is actively running.
A message counter showing total messages processed.
You can perform these actions on any channel:
Start / Stop — Toggle the channel on or off without losing your configuration.
Test — Run a quick connection test to verify credentials are still valid.
Edit — Update credentials, name, or messages.
Delete — Permanently remove the channel (with confirmation).
Best Practices
Start with one channel, get it working perfectly, then expand to others.
Always set a welcome message — first impressions matter. Something like "Hi! I'm your AI assistant. How can I help you today?" works well.
Set a clear error message — if the AI fails, your customer should know what to do next (e.g. "Sorry, I'm having trouble right now. Please email support@yourcompany.com").
Test before going live — use the Test button and send yourself a few messages before announcing the channel to customers.
Monitor regularly — check the Sessions and Analytics pages to see how conversations are going across all channels.
Keep credentials secure — never share API tokens or passwords. Mugib encrypts all credentials at rest.
Remember: Every channel shares the same AI engine and knowledge base. Improving your KB or system prompt improves the bot across ALL channels simultaneously. Train once, deploy everywhere.
Replies